NYC Renovation Chronicles: A step-by-step guide to a DIY backsplash
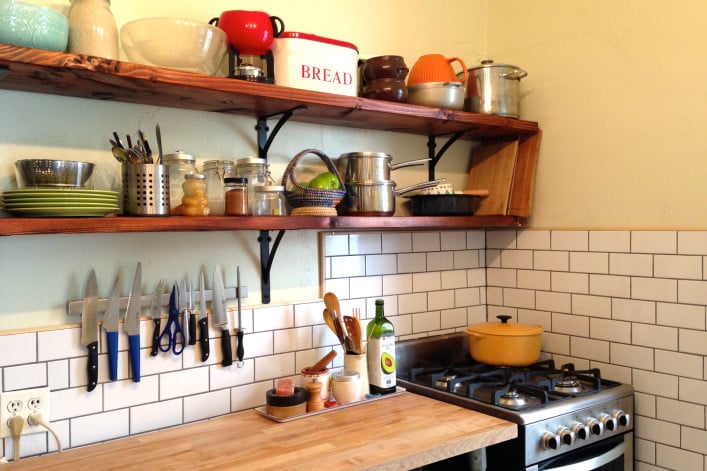
A backsplash is a wondrous thing: it adds style to a kitchen, but is also practical since it makes cleaning that much easier.
During a bathroom renovation, we miscalculated the amount of tile we needed, so we ended up with four extra boxes of white subway tile. This being a DIY, on-a-budget household, we decided to save it for a kitchen backsplash. (As a quickie solution in the meantime, we nailed two thermal plastic faux-tin panels to the wall next to the stove.)

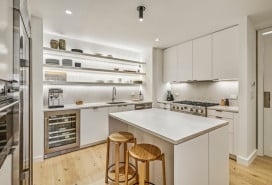
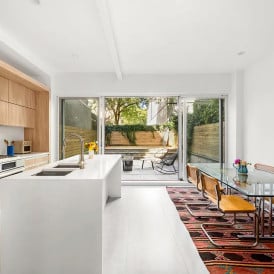
Mayra took subway tile inspiration from photos like the one above on FreshHome.com.
We live in a pre-war co-op, and the apartment was not well-maintained before we bought it. The walls in the kitchen had been patched and re-patched over the decades, leaving us with an uneven surface. It’s not without its charm, these aged plaster walls, but a bumpy surface makes it difficult to get a clean, even tile job.
After much research online (looking at pretty pictures here) and a thorough consultation with my handyman father, we decided that the simplest approach to installing a backsplash would be to lay the tile on plywood screwed to the kitchen walls, instead of directly onto the wall itself.
First, we measured the area where we wanted the backsplash (about 25 square feet of wall area in total) and figured we would need one 1/4"-thick plywood board, cut into three (plywood usually comes in 4’ x 8’ measurements and costs around $20 per piece).

Mayra's extra subway tile, from Classic Tile New York.
Luckily, we had more than enough subway tile left over from the bathroom remodel, but if I had to buy it, I'd pick up about 50 square feet. (White subway tile in 3" x 6" pieces cost about $2 per square foot). We even had enough bullnose tile (tile that is finished on one side) to finish the edges of the backsplash. We had about 20 linear feet left, and needed about 17 linear feet to line the edges (bullnose tile is sold in pieces, at about $1.24 a piece).
With our measurements done, we went to Home Depot to get additional supplies. We had the plywood board cut to size at the store to save us from getting sawdust all over the apartment. (Home Depot does straight cuts at no charge.)
We also bought a ceramic tile cutter, 3/16” tile spacers (tiny cross-shaped plastic pieces used to get tiles equally spaced from each other), and ceramic tile adhesive. To round out the classic industrial-chic look--and to differentiate the bathroom from the kitchen--we opted for Polyblend Sanded grout in Pewter.
As with any home improvement project, the bulk of the work lies in the prep. The first mission, as always, was to clear the room as much as possible. Then we put a protective covering of masking paper on the floor and surfaces.
Before securing our plywood boards to the wall, we first measured where we would need to cut out a piece for the wall outlet. We cut this piece out with a jigsaw.

Using a jigsaw to cut a roughly 4"x4" square out of the plywood to accomodate an existing outlet in the wall.
Next, we held the boards in position on the walls and pre-drilled the holes for the screws (about nine screws per board) into the board and through to the wall, to make sure the holes in the board and the wall would line up perfectly later on.
Then we drilled the wall and inserted the anchors, which would secure ("anchor") our screws to the plaster walls. After slathering the back of the boards with PowerGrab (see photo below), we lined the boards back up with the holes and screwed them to the wall. Once all three boards were on the walls, it was finally time to tile.


The first plywood board is up! The holes for the screws and the cut-out for the outlet line up perfectly.
To attach the tiles to the plywood, we spread a thin layer of tile adhesive, taking care not to cover too big an area at once. Tile adhesive dries quickly, so it’s best to spread on only as much as you can cover with tile within a short period of time, about 10 to 15 minutes. Otherwise, you may end up putting tile on adhesive that is already too dry, which may end in tears when the tiles don’t adhere properly and start popping off the wall.
We used tile spacers as we went along, to ensure even spacing between tiles. This is particularly important, I think, if you are going to use dark grout, as we did, since the contrast between grout and white tile would highlight any flaws later on.

It’s also important to put full tiles on first, instead of cutting tile along the way. Fill out the backsplash area with full tile and then save the corners and edges for later. This will make your job much quicker, and of course will also ensure you use as many full tiles as possible, giving you the most even-looking wall.
It goes without saying that you should take care to use the bullnose tile on the edges. Having said that, we forgot sometimes and ended up sticking unfinished tiles on the edge, or a bullnose tile in the middle of the wall once or twice. But we noticed those right away and were able to remove the tile before the adhesive dried.
Once all the full tiles were on the wall, we proceeded to fill in the gaps with tile that we cut to size. We measured and cut each tile as we went along. It takes some patience to measure accurately and cut the smaller pieces without destroying the tile, but that’s just what you have to do. The tile cutter makes this job easy--it's simple to use and makes accurate cuts.
Think of the wall as a giant puzzle which you get to put together by cutting your own pieces--not that much fun, but you’ll love the picture once completed.
When all the tiles were cut, and all the spaces were filled, we let the tile and adhesive dry for about 24 hours.
The next and final step was the grouting. Mix the grout by adding water to the powder, little by little, mixing with a plastic taping knife until you get a not-too-dry but not-too-wet consistency. You don’t want it to be runny, but you don’t want it crumbly either. You’re not making a pie crust that clumps together, you’re making a batter that has a “dropping consistency."
Slap the grout onto the wall, pushing it gently, but firmly into the tile spaces. We took care that the grout didn’t come up too high on the tiles. The tile edge should be covered, but the tile beveling should still be seen. Otherwise, the grout lines would be too thick and the tiles would give no texture leaving the wall looking flat.

Using a grout float we slathered on the dark grout, gently filling the spaces between the tile. We wiped over the tiles with a barely damp sponge to get any excess grout off and clean up the grout lines. It looked messy at first, but after a few more passes with a clean, damp sponge, all the grout came off the tile surface.
We worked in sections, a bucket of water and a sponge at the ready. Once we finished grouting one section, we gently wiped away the grout from the tile surface with the damp sponge. A too-wet sponge or too much scrubbing will just wash away the grout, so we made sure to wring out the sponge before wiping and only applied pressure to the tiles when we were trying to clean up the grout lines.
We scraped off any dried bits of tile adhesive from the tile surface with a scraper, but a razor blade would have worked, too.
The final product
It’s really after grouting that the full effect of all that work hit us. The tiled wall completely transformed the space. It’s amazing how something that takes up zero floor space and isn’t an appliance, work surface, or storage area can have such an impact on a room.

The kitchen sans backsplash

The kitchen after the DIY renovation
NYC Renovation Chronicles: 3 DIY projects worth trying yourself
NYC Renovation Questions: What are the best paint colors for an apartment?
NYC Renovation Chronicles: Trimming down the fridge
NYC Renovation Chronicles is a bi-weekly column focused (obviously) on renovation, NYC style. Helmed in the past by an architect, a kitchen and bath designer, and a general contractor, the column's new steward is co-op renovator, real estate porn addict and Harlem resident Mayra David. She'll focus on what it's like to DIY or HSI (= Hire Someone Instead) in NYC.


