4 photo staging tips for serious sellers
Awhile back we posted a quick photo-staging primer culled from the on-the-job learnings of three apartment photographers at Gotham Photo Company. Today we take it up a notch with some suggestions that go beyond cleaning the windows inside and out.
1. Removable storage makes your apartment look bad, so remove it
"The existence of removable storage throughout an apartment suggests something about the amount of available built-in storage, and it's not good," says Gotham photographer Reven T.C. Wurman. "Take away any cheap, flimsy, unmatched and over-filled items. You wouldn't have them in your apartment unless you really needed the extra storage."
Bye-bye special shelving unit that fits over and around the toilet, microwave cart and all those extra rolling racks, baskets and cabinets filled with stuff.
What can stay?
"Some might be effective as part of the decor," says Wurman, such as a stylish pot rack, a good looking entertainment center in the living room, or even that hollow ottoman.
Thinking of selling? To find out what actual buyers are willing to pay for your co-op, condo or brownstone, consider discreetly "pre-marketing" it. New York City real estate brokerage Triplemint has an entire data-driven pre-marketing platform that provides a way to quietly test your asking price and your marketing strategy among real-life qualified buyers before publicly listing your home. There's no charge to participate and no obligation to enter a traditional listing agreement at the end of the pre-marketing period if your place hasn't sold. Click here for more information.
2. Psych out buyers with a 'postcard' shot
The traditional lead-off picture on an Internet listing is a large living room shot, but it doesn't have to be.
Ask yourself what image "will convey the essence of living in the property to the people most likely to buy or rent it," says Wurman.
Some examples:
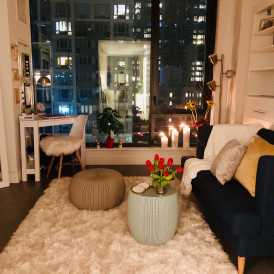
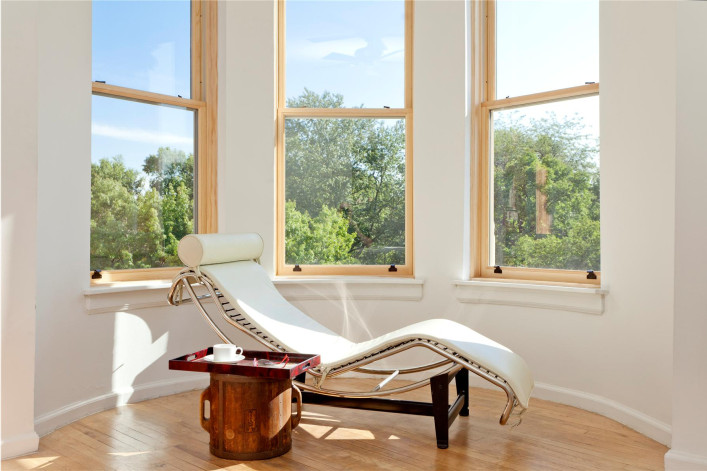
- If your apartment has an incredible view of Central Park, set up a shot showing what it would be like to have your morning coffee looking at the view. Show a breakfast nook, or a small table in front of a window, with the park in the background.
- If the south-facing windows get day-long sun, show the sun streaks on the floors and walls--and in as many shots as possible.
- If you have a fairly standard apartment in a park neighborhood or near the water, show an incredible shot of the park or of the sunset on the water, or the exterior of the building with the park/water in the same shot.
- If you have a classical apartment, show classical trim and architecture with classical furniture. Get close up so that only one setting and great details read clearly.
The rest of the pictures should be a lot more general, but you should still pay attention to key selling points of the property.
"Try to include the distinctive trim in a restored or renovated apartment, show expansive gathering spaces, and the building's playrooms/playgrounds," says Wurman.
Discuss your ideas with your real estate agent and your photographer beforehand--don't just leave it to the photographer to show up and do a cookie-cutter shoot of the rooms, cautions Wurman.
"Photographers see a lot of properties on a daily basis, and should be accomplished in telling the story you have in mind--as long as they know what that story is," says Wurman.
3. Call the handyman yesterday
"When someone sees broken or worn out items"--think floor marks, water stains, missing pieces of molding, crooked radiator covers--"their first thought is that the property itself has been used roughly, and that other items may be ready to fail right after they move in," says Wurman.
You don't need to repaint your entire apartment--just get a quick fix-up/touch-up of the problematic areas.
4. Green bulbs do not a pretty picture make
They may be saving you money along with saving the world, but compact fluorescent lights "produce a different color spectrum then incandescent or halogen lights," says Wurman. "Generally the light produced has a greenish tint, which is unattractive in photos, and hard to correct out. The tint is especially evident in pictures when fluorescent bulbs are used in combination with daylight or halogen/incandescent fixtures.
On photo day, be sure to swap your green bulbs out for halogens or traditional incandescent bulbs.
Related:
7 essential photo staging tips
Do you know the right questions to ask a broker?
Do real estate agents deserve their commission?


